Nigezza Creates aka Gez, Independent Stampin' Up® Demonstrator
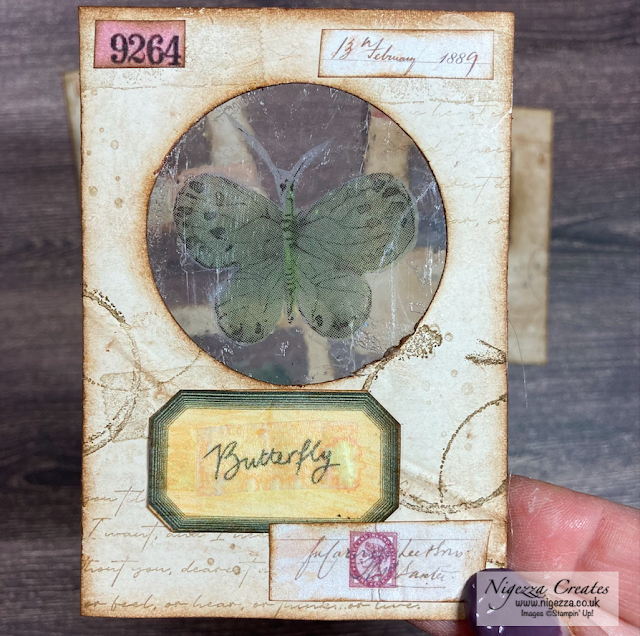
Thank you for visiting my blog, I really do appreciate it. I am bringing you another Junk Journal tutorial. This tutorial is for faux specimen slides. I have seen people make these and wanted to have a go but didn't know what to use as the specimen as I needed something that has a back and a front if you get what I mean. Then it came to me just as I was waking up! A bright idea that I just had to try out. I thought this was going to be a very quick process but it managed to take most of the day! But I had loads of fun so it was all good.
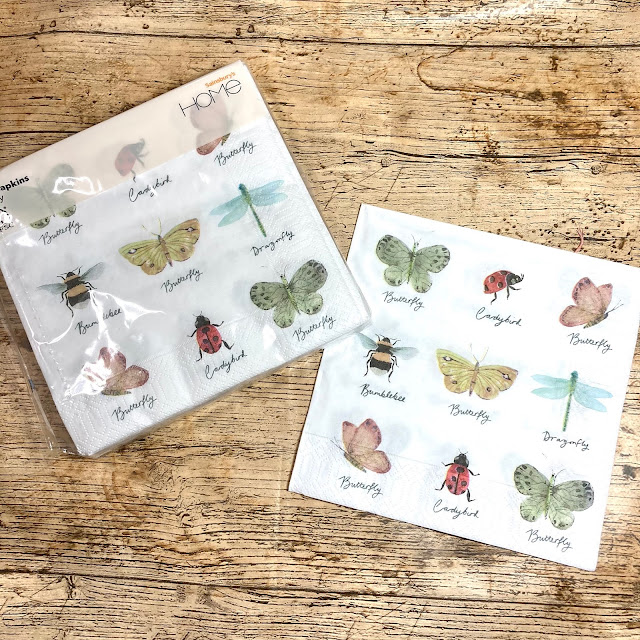
I had recently bought some paper napkins from Sainsbury's and I woke up thinking how i could use them. They have images of butterflies, ladybirds, dragonflies and bumblebees on them with the words written below in a lovely font that looks like hand writing. So I thought specimen slides. My idea was to laminate the napkin and mount them on coffee dyed paper and decorate. Simples! Well until you start and decide to try different methods and you find yourself at it for most of the day!
Measurements and Materials
- The specimen slides were made with a heavier weight tea dyed copier paper
- I got 4 from a standard sheet I just cut into quarters and folded in half
- A few I cut down to squares
- I used 2" punch on the circle ones
- I used square dies on the others
- But you can use what you have, you could even cut with scissors!
- Specimen cards were decorated with inking, stamping and different digitals to give them an authentic vintage look
- This was such fun to make.
- To get the samples ready for the cards I did several methods
- Fussy cut out each image and laminate
- This is the easiest and probably the one I would do again
- Using a paint brush in water to release the images, this gives a slight torn margin
- Then laminate
- Worked but not my favourite in the end
- Just laminate the napkin
- Really didn't like how this turned out
- Decoupage the napkin onto layout paper and then iron wax on top
- Version one was laminated and I don't think I would do this again
- Version 2 I just left it not laminated
- I loved the feel of this and would do this again but use for something else
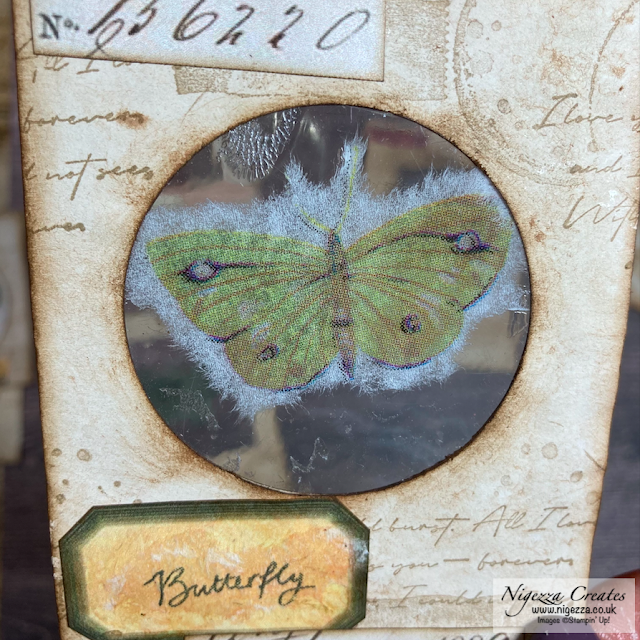
- Iron wax directly onto the napkin
- This gives a lovely result which can be used on a slide or in other projects, I will do this again
- I added it to a slide as it was and looks it so a good alternative if you do not have a laminator
- I added to a slide with a back for a journalling card, loved this as well
- I fussy cut out and laminated
- This was a nice result but not really much different to just laminating the napkin so may not be worth the effort of waxing for this version.
Now watch the video tutorial to see how this was made :-)
The paper napkin I used
Waxed layout paper
Removed from napkin with the use of a wet paint brush
Melted wax on the paper napkin
Fussy cut and laminated
I hope you like this project and will give it a try. To make sure you don't miss any of my projects why not subscribe to my YouTube channel, follow my blog and subscribe to my newsletter? I will be back tomorrow, until then ...
Happy Crafting!
Gez xxx
Below are the products I used, if you click on the item it will take you directly to my shop where you can purchase the items.
Product List
Happy Crafting!
Gez xxx
Below are the products I used, if you click on the item it will take you directly to my shop where you can purchase the items.
Product List
Don't forget to use my host code to receive a share of the Stampin' rewards as a thank you for shopping with me :-)
Host code is SHNR27B4
Current Offers From Me
Click here to see my offers, kits and shares :-)
My Shop
My shop is open 24/7 Click here to shop!
Don't forget to use my host code to receive a share of the Stampin' rewards as a thank you for shopping with me :-)
Don't forget to use my host code to receive a share of the Stampin' rewards as a thank you for shopping with me :-)
Host code is SHNR27B4
If your order is £150 or more before P&P then do not use the host code as you qualify for host rewards on your own and can chose what you want :-)
If your order is £150 or more before P&P then do not use the host code as you qualify for host rewards on your own and can chose what you want :-)
Free Tutorial Bundle When You Shop With Me
My Team
- If you want to start a business for £99 then this is the way to do it!
- Choose £130 of products for £99
- PLUS during January & February 2021 you also get 5 packs of 6"x6" DSP
- Each pack contains 40 sheets
- 2020 - 2022 in colours
- Each of the colour families, Neutrals, Regals, Brights & Subtles
- Support from me and the wider team when you join my team
- I am also a Pootler which is Pootles team (Sam)
- You will also become one of these when you join with me
- No obligation to sell, make videos, blog etc
- You can just join up and get the 20% discount for yourself


No comments:
Post a Comment